Our dogs are wonderful companions and benefit our mental health, but sometimes they need a little extra care. While it might be easier to get your dog’s ears cleaned at the vet, you can and should clean them more often at home. It does not require you to have any special equipment, and keeping your dog’s ears clean and dry is essential for their health and happiness.
There is a simple way to determine if your dog’s ears need cleaning. Whenever you rub your dog’s ears, you will understand quickly if your dog allows you to rub it and enjoys it, or if it pulls away from you or whines when you rub them. If your dog is sensitive to having its ears touched, it might be time to do an ear cleaning.
Smell Them First, Then Look
Another step you can take besides just rubbing your dog’s ears is by smelling them. That might sound a bit gross, but it is an easy way to detect if there’s any odor since healthy dog ears don’t have a smell to them. However, bacterial or yeast infections often occur in dogs’ ears so that they will have a stinky smell.
When you look inside your dog’s ears, you should see pink skin and probably even some yellow-colored wax, which is okay. Wax is part of the ear to help keep it clean. However, if you see redness, darker colors, or even some discharge, this indicates a problem. Your dog might also shake its head frequently or scratch its ears and whimper.
Cleaning Your Dog’s Ears Safely (Step-By-Step)
Since you can do this at home, the vets at animal hospital Bond Vet NYC share that you should still first check with your veterinarian how often you should be cleaning your dog’s ears. Certain factors like age, breed, weight, activity level, and more tell you how frequently ear cleanings will be necessary.
Some essential tips to help you before you commit to cleaning your dog’s ears:
- Keep your dog calm - it would help if your dog were tired out from an excellent long walk so that you know it won’t give you a difficult time when you’re putting things in its ears. Treats can help too.
- Prepare with your tools beforehand, so you can do it all at one time instead of forgetting something here or there and then having to stop and disrupt the process.
- Don’t use Q-tips (cotton swabs) to clean your dog’s ears. Jamming those things into the ear canal can cause some severe damage.
- Cut the hair around and in the ears before cleaning them so that you can see more clearly and clear out some of the hair from the ear canal.
Step 1 - Use a Good Quality Ear Cleaning Solution
Household cleaners that you may have on hand, such as hydrogen peroxide or alcohol, are not suitable for your dog’s ears, so don’t use them. Ear cleaners made specifically for dogs have antifungal or antibacterial ingredients, and others are better for wax buildup. But, again, you must discuss which ear cleaner is best for your pet with your veterinarian at your next visit.
Step 2 - Sit on the Floor
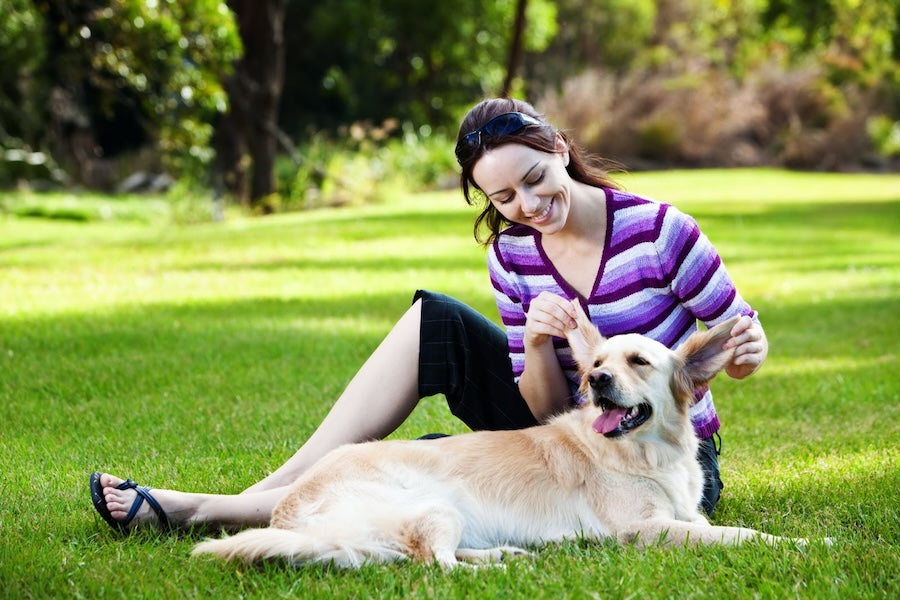
When you sit on the floor, it helps you to get down to your dog’s level. First, have your dog sit in front of you in a laying down position so that you can quickly get to one ear and the other. Next, tilt your dog’s head in a downward position so that the cleaning solution doesn’t fall out.
Step 3 - Insert the Cleaning Solution
Open up your dog’s ear flap as much as you can, and squirt or drop some of the solution in its exposed ear. Don’t put the tip of the bottle or dropper directly in your dog’s ear, as it could touch the inside and spread the bacteria in the ears.
Close the flap over the ear to keep the solution in, and give it a massage so that it squishes it a little further inside the ear canal, working to remove the bacteria, fungus, or break up and soften the wax buildup inside. You can also keep the flap up for a moment and rub the base of the ear below where the solution is on the outside, allowing the cleaner to work its magic.
Step 4 - Release Your Dog
Stand up or step back and allow your dog to shake. It is a good idea to prepare yourself with a towel as one of your tools so that you can either shield yourself or hold it closer to the ear when your dog works to shake out the liquid.
Step 5 - Wipe Away the Rest
Using the towel, a cotton ball, or a soft tissue, you can wipe away the excess liquid on the outside of the ear and just on the inside up to your first knuckle, so it is not very deep. It is important to remember not to dig the tissue into the ear since this is just like using a cotton swab and can damage your dog’s ear canal.
Repeat all five steps with the other ear, and you’re done. Remember, if your dog seems like it is in more pain while you are trying to clean its ears, you should probably call your veterinarian and take it in to be looked at, as it could be an ear infection or something that might require medication.
Check Your Dog’s Ears Regularly
Once you have tackled cleaning your dog’s ears, some tips to help you for reference:
- Check your dog’s ears after a bath - this is the best time when drying them off you can smell, look and examine them.
- Don’t clean your dog’s ears too often - take advice from your veterinarian.
- Use only vet-approved cleaning solutions, not household cleaners, for your dog’s ears.
Cleaning your dog’s ears will help prevent infections, and you can always have your dog’s ears checked at regular vet examinations to catch any other potential problems such as ear mites before they worsen. In addition, clean ears will keep your dog happy and healthy!


